Pages

Saturday, February 23, 2013

Modern Baby Boy Nursery


I hunted every store and website for the perfect bedding and room decor for our baby boy but found nothing but an abundance of over used themes. Trucks, trains, boats and airplanes. Dinosaurs, puppies, and sports.... So I decided to break down and try to come up with my own design.


 My inspiration piece was this adorable fabric that I found at JoAnn Fabrics.


I painted these trees with acrylic paint on stretched canvas from our local craft store. It took several layers to get the dark brown to cover evenly.


 I wouldn't exactly call myself a sewer but I was able to stitch some simple straight lines to create a window valance and bed skirt.  I used a bright orange blanket binding ribbon to finish the edges of both.


I was able to order basic fitted sheets and changing pads with coordinating colors from Carousel Designs.  This site has so many different fabrics! I really wish I would have found it first before fighting with my sewing machine.


Sunday, January 13, 2013

Snowman Gift Jars


After months of saving baby food jars in hopes of using them again, I finally came up with this crafty little project!  I gave these adorable little snowman out as holiday party favors. I also used a few as gifts for  neighbors and teachers.

I filled most of them with mini marshmallows and put them in small gift bags with packets of hot cocoa and a coffee mug.

A few were for younger teen-aged girls so I stuffed those snowman with cotton balls and made manicure gift bags by adding nail polishes, a small travel sized bottle of nail polish remover and emery boards.  


To make these snowman jars I started with a clean empty baby food jar, although any size jar would turn out just as cute.  I then used a hot glue gun to attach felt or fleece along the outer edge of the lid.  I also made a few of the hats by using Christmas socks that I found on clearance! You can either measure the circumference of the lid and ad a quarter of an inch or use a piece of fabric longer than what you need and trim off the excess after it is glued.


The fabric needs to be around 4 inches tall.  No need to measure exactly, I just eye balled it.  Use a strip of hot glue along the loose end to create a seam. This will become the back of the hat.


You can us a variety of material to create the brim of the hat.  (pipe cleaners, ribbons, scrap material, cotton balls, puffy paint)


Next take a loop of ribbon and hot glue it to the inside of the hat.  This piece can be used to slip a ornament hook through so it can be displayed on your Christmas Tree! Then Tie a ribbon (or twist a pipe cleaner) around the top third of the hat to give it a sock hat shape. Finish off the hat by adding bows, sequins, rhinestones  pom poms etc!

The faces were painted on with 99 cent bottles of T-shirt /puffy paint. If you can make black dots and an orange triangle you are good to go!

Thank you for visiting my blog. Hope you have a wonderful day :)


Monday, November 19, 2012

Thanksgiving Cheese ball

This year I decided to turn my boring cheese ball into a festive Thanksgiving appetizer! 

To make this easy cheese ball I used the following ingredients:

2 packages of cream cheese
1 packet of Hidden Valley Ranch powder dressing/seasoning
1 can of Tyson's fully cooked chicken breast
sliced almonds

The crowd pleasing turkey was made by simply adding slices of a red bell pepper, assorted crackers and nuts!
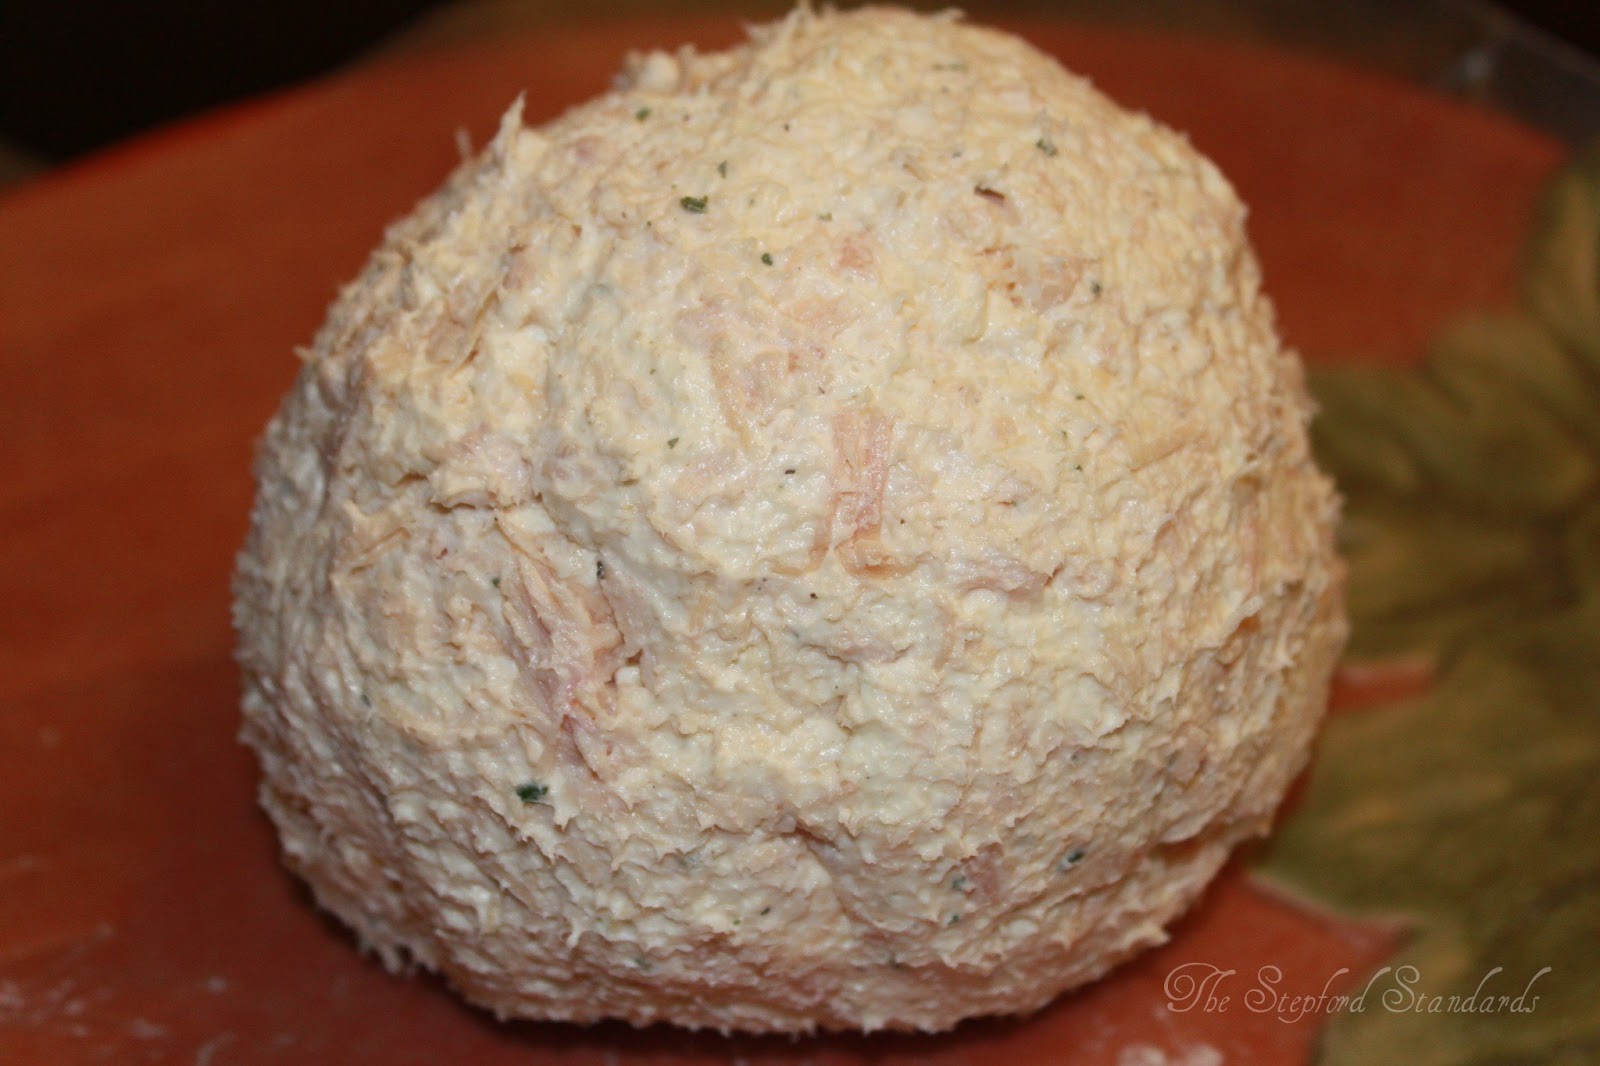
Mix cream cheese, Ranch dressing/seasoning mix, and can of chicken(well drained). Then shape the mixture into a ball. 
Next Roll ball in sliced almonds until the outside of the ball is completely covered
Slice a red bell pepper into long strips to create the head and tail feathers for your turkey. The curve where the pepper meets the stem will make a great head/neck for your little gobbler :) 
Bellow is a close up of the slice I used for the head
Use a Variety of crackers, pretzels, and nuts to finish off your feathered friend!
Thank you for checking out my blog :) Hope you all have a wonderful Thanksgiving!


Thursday, November 1, 2012

After Halloween sale!

Halloween Clearance = Little girls dress up clothes. Perfect to put away for a birthday or Christmas gift! I found these princess dresses for just under $5 at wal-mart and the skirts were just under $3


Tuesday, October 30, 2012

Peanut Butter Cookies Just Like Momma Makes 'Em


 We have been making these amazing peanut butter cookies every Christmas for as long as I can remember and when I asked my mother where this recipe originally came from she laughed and said probably the back of a Bisquick box or old cook book!  I poked around and ended up finding it on http://www.bettycrocker.com.  It may not be an original recipe but it is far to delicious not to share!


1 can (14 ounces) of sweetened condensed milk
3/4 cup peanut butter
1 teaspoon vanilla
2 cups of ORIGINAL Bisquick baking & pan cake mix 
(the "complete" or instant Bisquick where you just add water will not work!)
unwrapped chocolate kiss candies
sugar

preheat oven to 375 then mix condensed milk, peanut butter and vanilla until smooth


next add the 2 cups of dry Bisquick mix

At this point you mixture will become very thick and it is easier to knead the dough with your hands! This is why you wont see a picture of the process ;) didn't want to get anything on my camera


Next, shape the dough into 1 inch balls and roll in sugar


Space dough balls about 2 to 3 inches apart on baking sheet and bake for 8-10 minutes
Do not press flat!


While cookies are baking unwrap one chocolate candy for each cookie.  I prefer hershey kisses but I have heard of people using chocolate hearts for valentines day and even Rolos


When cookies are light golden brown remove from oven and gently press candy down into the cookie ball.  If you are unsure if your cookies are done, I like to check the bottom of a few to make sure they are browning but not burnt!


I hope you enjoy this Betty Crocker Recipe as much as my family has! 

Thursday, October 25, 2012

Christmas Rice Cereal House

Last Christmas Eve I decided to build a house out of rice cereal instead of a traditional gingerbread house!
To create the perfect shape, I wrapped a box with waxed paper and I then built my rice crispy treat walls around the box.      


The roof was made from cinnamon graham crackers  The sugary grainy texture gave it a slight sparkle.  I then dressed it up by adding holiday lights made from spice drops and jujubes. The Roof was also lined with rainbow candy canes and frosting shingle lines with peppermint accents.  


This tree was by far my favorite part of the project. It was made by cutting green sour Twizzlers up with a pair of kitchen sheers. Then using the frosting as glue, I stuck them onto side of the house and added colorful candies as decoration.  The window on this side of the house was made from lemon Starbursts.  

Upside down pretzels made an adorable little fence and vanilla waffers worked as a stepping stone sidewalk to the front door!

A marshmallow snow man with oreo hat! His nose is made from a piece of an orange Starburst.  The snowy yard is made from shredded coconut.


Supply List!

Rice Krispies 
Marshmallows - to make rice crispy treats and 2 set aside for snow man
Butter
cardboard box
wax paper - to wrap box in
large cutting board or cookie sheet to build on
Graham Crackers - roof
Frosting 
M&M candies
Starburst - windows, snow man nose
pepermints
candy canes 
Sour Twizzlers (mulit colored) - christmas tree and lining sidewalk
spice drops 
JuJubes
Oreos- snowman's had
Pretzels - fence
Vanilla Waffers -stepping stone sidewalk
shredded coconut - snow


Monday, October 8, 2012

A Winery Wedding Shower


 These are some photos of a small intimate bridal shower I recently hosted at a quaint little Midwest winery.  Our group was given a quick tour of the winery and a private wine tasting.  To help eliminate any busy work during our event the brides maids ordered catering from the winery.  Crackers, cheeses, dips, and a few small appetizers were served as our bride opened gifts.  

 Here is a beautiful moment I captured 


The winery provided basic white table linens, serving ware and glasses but with the help of the other bridesmaids we were able to give this celebration a more personalized look!

 
A chiffon ribbon was ran down the center of each table with plastic over sized diamond jewels placed on top.  A few small vases of simple red roses were added.  Our party favors, hand made cake truffles, and a wallet sized photo of the couple were also at each place setting.
A quiz on how well guest knew the bride was worked into each place setting.  The questions were printed on regular typing paper then mounted on matching card stock to give color and charm to the table.  The card stock was topped off with a strip of ruffled red ribbon and a scrap booking jewel.

It may be slightly OCD but I always purchase a pack of pens when I am having guest do a writing activity.  This way not only do they all match and look nice but you wont have to go digging through draws in the middle of the party!


Each guest was asked to address an envelope to themselves for when the bride sent out thank you cards.  The addressed envelopes were shuffled and the bride was asked to randomly draw one from the stack.  The person who's envelop was pick received a gift basket as a door prize.